
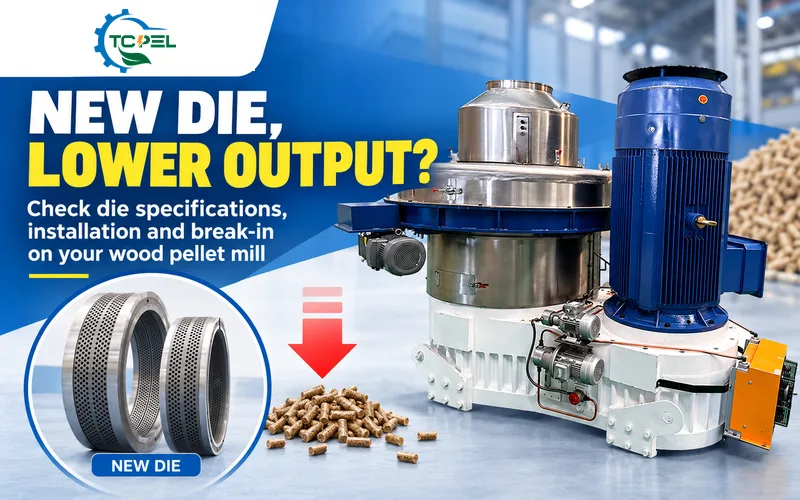
Replacing worn dies should restore output on TCPEL flat die pellet machines. TCPEL vertical ring die pellet machines should also regain output after die replacement. Yet pellet discharge may slow despite using the same sawdust batch. Main motor current may also exceed the level recorded with the old die. Increasing sawdust feeding then worsens material buildup inside the pelleting chamber. These symptoms alone do not prove that the new die is defective.
This article covers problems during initial production after installing a new pellet mill die. Check three areas separately: die specifications, installation condition and die break-in. Die break-in improves the condition of the surfaces inside the die holes. Die break-in cannot correct unsuitable die specifications or mechanical installation faults.
Stop the pellet mill before die installation, cleaning or roller-to-die clearance adjustments. Isolate and lock out the relevant energy sources, then release stored energy. Wait until moving components have stopped and hot components have cooled. Maintenance technicians should secure the die and check press roller condition. Technicians should also complete lubrication and set the required roller-to-die clearance. Restore all guards before starting the pellet mill. Never operate the pellet mill with guards removed. Never reach into the pelleting chamber to move material.
Matching Hole Diameters Do Not Guarantee Matching Pressing Resistance
Die hole diameter determines pellet diameter. Resistance also depends on effective die-hole length, inlet shape and hole surface condition. Effective die-hole length means the working section where sawdust remains under compression. The wider relief bore at the outlet is excluded from that working length. Die compression ratio (L/D) equals effective die-hole length divided by hole diameter. This ratio describes the die hole, not the entire pellet mill.
Production gradually wears the old die’s holes, inlet chamfers and working surface. Inlet chamfers are the beveled edges at the die-hole entrances. Matching nominal hole diameters therefore do not guarantee matching conditions inside the holes. Compare the complete drawing specifications when choosing a replacement die. Checking pellet diameter or overall die thickness alone is insufficient. The new die’s effective hole length must suit the sawdust being processed. Longer die break-in cannot correct an unsuitable effective hole length.
Confirm the New Die’s Delivery Condition Before Planning Break-in

Some new dies retain machining marks or heat-treatment scale inside their holes. These surface conditions increase friction as material passes through the die. Follow the manufacturer’s preparation instructions before putting an untreated die into production. A die that has undergone factory pre-running-in has different startup requirements. Do not repeat untreated-die procedures on dies already prepared at the factory.
For on-site die break-in, use the specified carrier material and oil. Mix the ingredients thoroughly in the prescribed proportions. Feed the die break-in mixture evenly through the designated material inlet. Effective break-in requires the mixture to pass through every die hole. Pouring liquid oil onto the die surface cannot complete die break-in. Running press rollers against an empty die cannot complete die break-in either.
Follow the specific die instructions for any abrasive medium, including type and quantity. Never independently add sand, metal powder or waste engine oil.
New die break-in and routine shutdown die flushing serve different purposes. Both procedures may use mixtures containing oil. Die break-in improves the internal surfaces of new die holes. Shutdown die flushing replaces production sawdust inside die holes before the pellet mill stops. Retained flushing material helps the next startup. Break-in and flushing differ in formulation, feeding procedure and purpose. Neither procedure can substitute for the other.
Establish Steady Pellet Discharge Before Increasing the Feed Rate

Start the new die with a low sawdust feed rate. Confirm continuous, stable discharge before increasing the feed rate gradually. Reduce the sawdust supply rate; do not reduce main motor speed. Do not reuse the old die’s full feed setting before new-die output stabilizes. An excessive feed rate creates a thick material layer inside the pelleting chamber. Main motor load can then rise sharply as material accumulates and blocks production.
Record actual pellet discharge, main motor current and material buildup together. A few pellets appearing occasionally do not confirm that die break-in is complete. Stop feeding immediately if discharge remains absent or main motor current rises rapidly. Abnormal vibration or unusual operating noise also requires stopping the material feed. Follow the pellet mill fault shutdown procedure and inspect the equipment. Overloaded operation is not a normal part of die break-in.
Collect and store discharged die break-in mixture separately. After completing the prescribed break-in process, remove residual break-in material. Gradually switch to normal production sawdust. Initial transition material containing break-in mixture must also remain separate from finished pellets. Never package break-in discharge as acceptable finished pellets merely to report output sooner.
TCPEL Checks for Common Problems After Die Replacement
Use the operating symptoms to decide which checks deserve priority.
Operating symptoms | Priority checks |
Output falls and motor current rises after die replacement. | Compare effective die-hole lengths, relief bores and die compression ratios. Confirm whether the new die received factory pre-running-in. Check die fasteners, shims and roller-to-die clearance at multiple positions. Confirm whether the raw material also changed. |
Break-in mixture passes, but ordinary sawdust causes problems. | Check whether the die compression ratio suits the current sawdust. Inspect die-hole inlets for impact damage. Sample the sawdust and measure moisture. Never rely on added oil to maintain sawdust production. |
The pellet mill produces pellets at low feed rates. Increasing feed rates causes material buildup and die blockage. | Check roller-to-die clearance variations and press roller assembly condition. Check for localized die-hole blockages. Review whether the compression ratio suits the raw material. Do not start directly at the full production feed rate. |
Normal discharge of break-in mixture does not confirm normal sawdust production. Oil in the break-in mixture reduces resistance through the die holes. Successful discharge therefore only proves that the break-in mixture can pass through. If ordinary sawdust still causes problems, recheck die selection, sawdust properties and hole condition. Do not keep adding oil to hide the problem.
A drop in main motor current alone does not confirm completed die break-in. Reducing feeding also reduces main motor load and current. Confirm completion through sustained, stable output using normal sawdust. The pelleting chamber must remain free of persistent material buildup. Pellet discharge and main motor load must remain stable as feeding increases.
The goal after die replacement is continuous, stable wood pellet production. Brief peaks in output are not the priority.
TCPEL Field Maintenance Case
The customer used a TCPEL-TCZL700 vertical ring die wood pellet machine. The pellet mill’s rated capacity was 2.0–2.5 t/h. The customer installed a new die without factory pre-running-in. The new die had the same nominal hole diameter as the old die. After installation, the operator restarted using the previous 78% feed setting. Pellet discharge was sparse, main motor current stayed high and sawdust accumulated continuously.

Technicians shut down and isolated the pellet mill before inspecting the installation. The die was correctly installed and secured. Drawing comparisons showed longer effective die holes in the new die. The new die’s compression ratio was also higher. Clear machining marks remained on the die-hole walls. Sawdust moisture was within the permitted range. The sawdust had not changed during die replacement.
Technicians completed die break-in using the TCPEL-specified mixture and mixing proportions. Feeding remained low throughout break-in, and the discharged mixture was collected separately. After break-in, technicians removed residual conditioning material from the die holes. Technicians checked and calibrated roller-to-die clearance at several positions. All adjustment mechanisms were securely locked.
The pellet mill restarted at a 35% feed setting. Feeding then increased gradually while operators monitored pellet formation and main motor current. During 72 hours of continuous operation, pellet discharge remained stable. No abnormal material buildup occurred, and capacity returned to the design range.
These TCPEL checks can identify and resolve most problems following new die installation. Persistent blockages or abnormal loads warrant contacting TCPEL’s technical service team. Provide complete specifications for both dies, initial commissioning details and operating records. Our engineers can then provide technical support and solutions.